

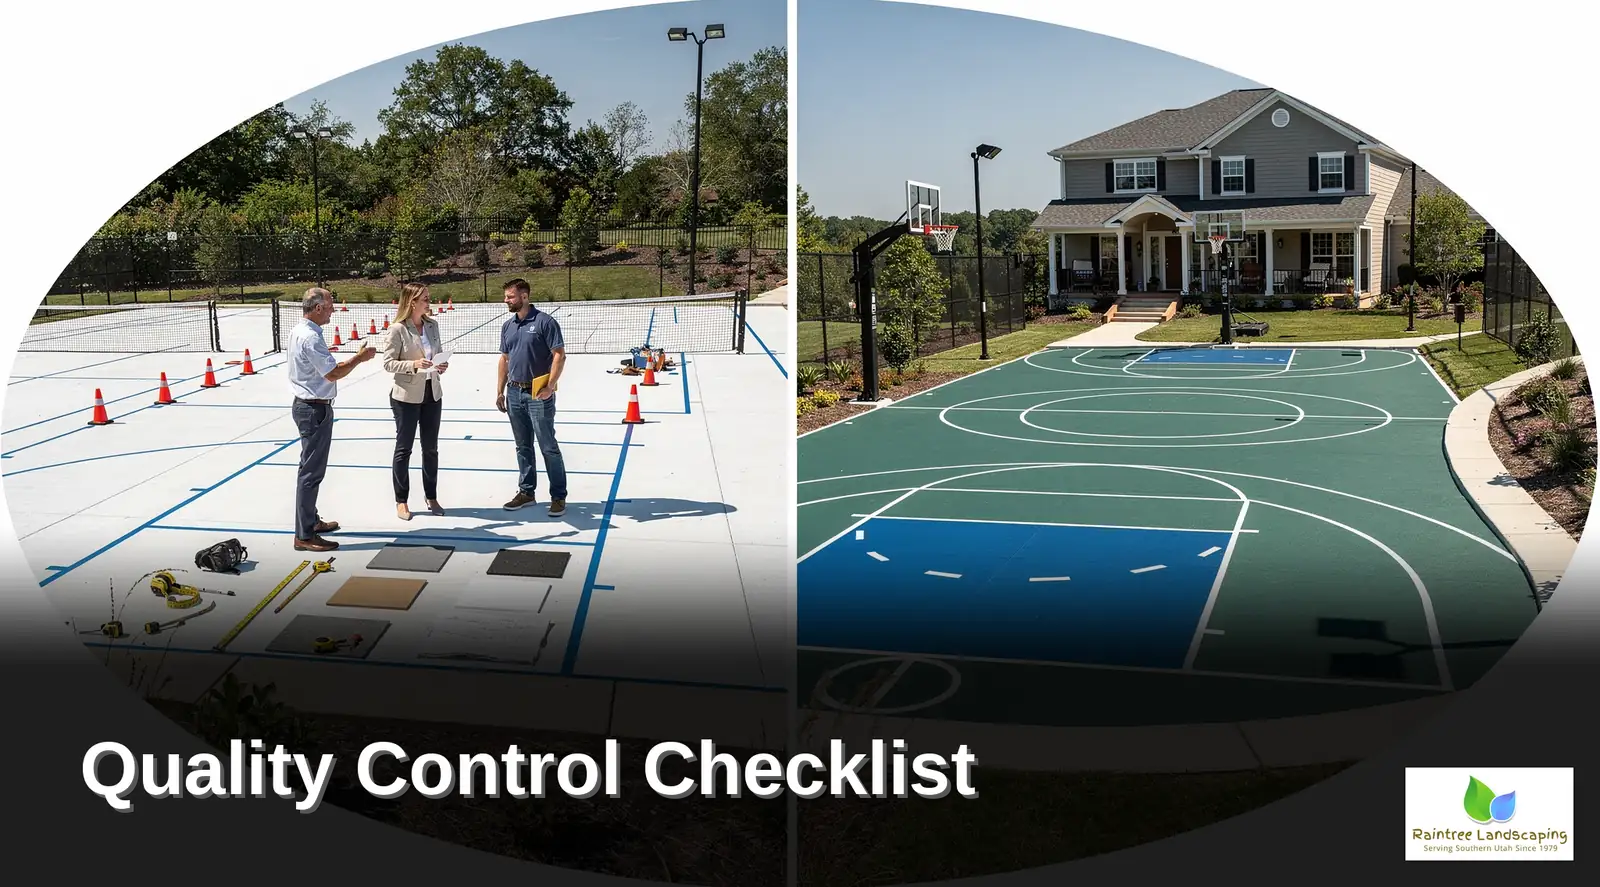
Quality Control Checklist: Custom Sports Court Construction
Quality Control Checklist: Custom Sports Court Construction
By Supreme Custom Courts Editorial Team · Updated 2026-08-12
Quality control for custom sports court installation requires verifying base grading, asphalt or concrete cure time, surface leveling within 1/8-inch tolerance, acrylic coating layers, line striping accuracy, and net/post anchoring. Supreme Custom Courts, based in Ivins, UT, conducts multi-stage inspections at each phase to ensure durability and playability standards.
Quality control checklists verify site grading, surface leveling, dimension accuracy, and line striping before final sign-off. Supreme Custom Courts, based in Ivins, UT, follows CourtBuilder-network standards reflecting expertise from over 125,000 completed projects, ensuring proper drainage, surfacing, and damage-prevention measures meet performance benchmarks.
Quality control for custom sports court installation covers site excavation, cement pouring, surface leveling, fencing, and lighting, verified at each stage against sport-specific dimensions. Supreme Custom Courts inspects Sports Master acrylic sand mix paint application for consistency, checks Dominator lighting installation, and confirms drainage and surface smoothness meet industry standards before final client walkthrough.
Key Takeaways
-
Supreme Custom Courts operates in Ivins, UT, providing specialized installation and quality control services.
-
Site assessment precedes surface and dimension decisions to prevent budget overruns and redesigns.
-
Regular cleaning removes debris, leaves, and dirt to prevent mold and surface damage.
-
Sport Court’s network includes over 125,000 completed projects from experienced local CourtBuilders.
What Should You Prepare Before Installation Begins?
Successful court preparation starts with a thorough site assessment, not a color palette or logo design. Skipping that step ranks among the leading causes of budget overruns and mid-project redesigns. Surface and dimension choices made before evaluating the property often force costly changes later. Central Utah properties, including sites around Mapleton, demand precise site preparation, sport-specific dimensions, and weather-resistant surfacing materials before ground is broken.
How Long Does a Custom Court Project Take?
Property owners in Central Utah should plan for roughly four to six weeks between the initial design meeting and a court ready for play. Timelines shift based on property size, drainage needs, and material selection, so early planning protects the schedule.
What Happens During the Design Phase?
Design comes before construction, and it should be collaborative from the first sketch through final installation. Homeowners work alongside court builders to confirm layout, color scheme, and surfacing choices match their vision before any excavation begins.
Before installation crews arrive, property owners benefit from confirming a few essentials:
-
A finalized site plan reflecting slope, drainage, and available space
-
Agreed-upon court dimensions matching the intended sport
-
Selected surfacing materials suited to Utah’s weather swings
-
A clear understanding of the project’s quality control checklist and expected acceptance criteria
What Happens During Each Installation Inspection Step?
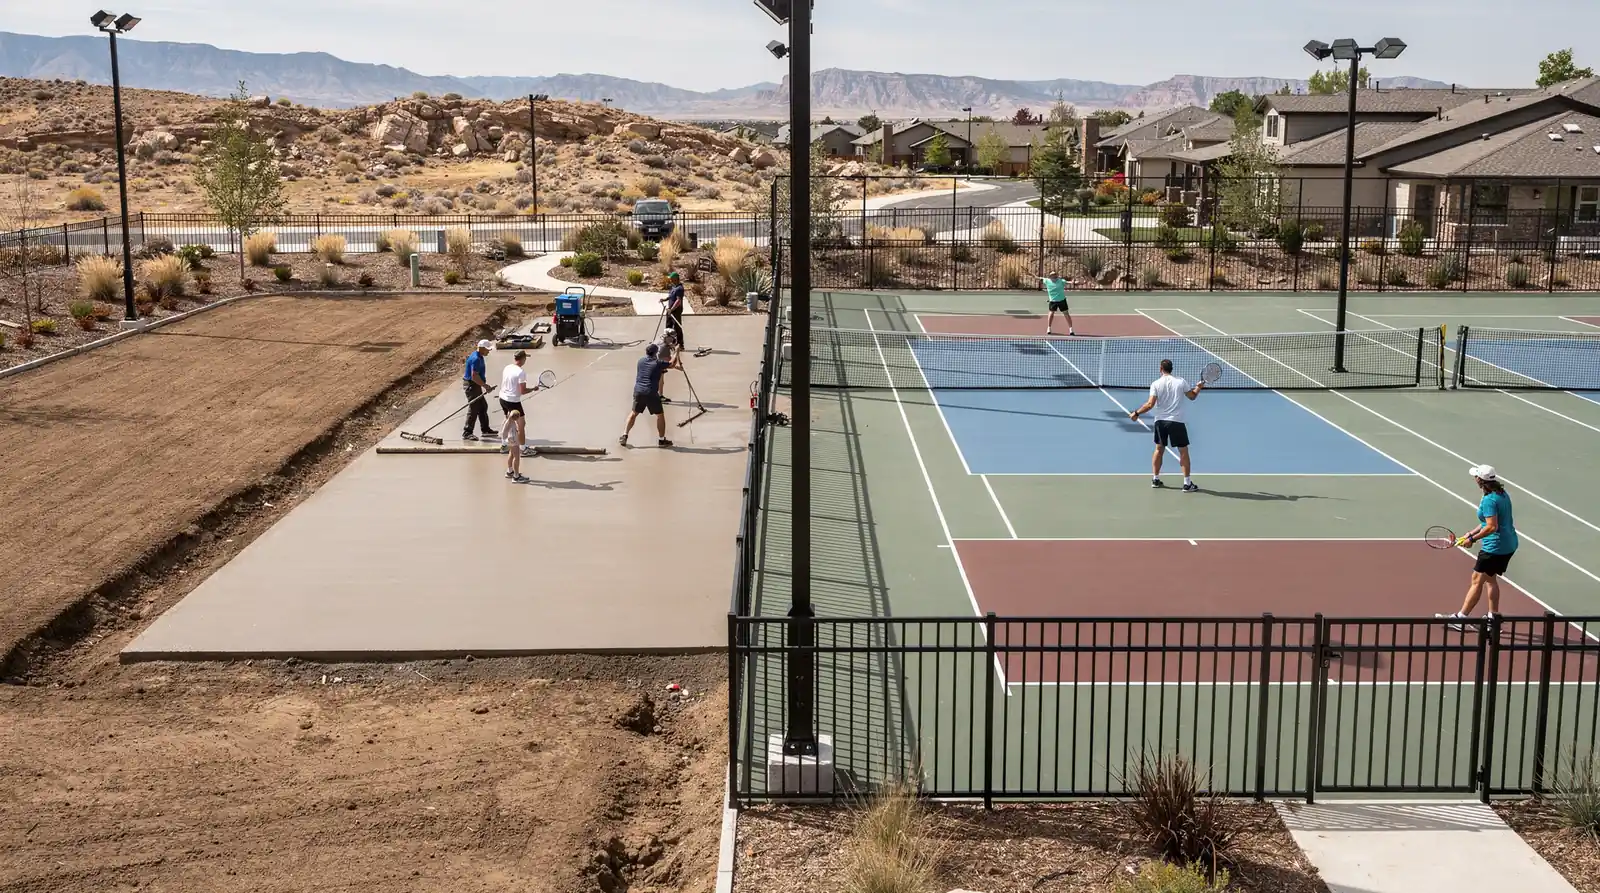
Installation inspections at Supreme Custom Courts follow a structured sequence that mirrors the build itself. Site engineering research confirms that court construction is not just concrete pouring and line painting. It is an engineered process spanning site planning, excavation, base construction, and surface installation, and each phase deserves its own review. Skipping a single checkpoint risks cracked slabs, ponding water, or lighting failures that surface months after move-in.
A thorough quality control checklist guides crews through five verification points:
-
Excavation and grading review — confirm soil compaction and slope meet drainage requirements before concrete work begins.
-
Cement pouring inspection — check slab thickness, curing time, and surface flatness.
-
Surfacing material check — verify resurfacing products chosen to withstand heavy use and Utah’s harsh weather swings and bond correctly.
-
Paint application review — inspect the Sports Master acrylic sand mix paint coat for even texture, since this layer determines both appearance and long-term playability.
-
Fencing and lighting verification — test Dominator lighting systems for proper positioning, wiring, and after-dark visibility, then confirm fencing anchors are secure.
Why Does Each Stage Get Its Own Inspection?
Bundling checks into one final walkthrough misses defects that form early, like a poorly compacted base hidden under fresh paint. Reviewing excavation, cement, surfacing, paint, and lighting separately catches problems while they remain cheap to fix.
Final acceptance criteria cover smoothness, drainage performance, dimensional accuracy, and lighting function. Only after every stage passes review does a court earn sign-off as ready for play.
How Do You Confirm The Court Meets Acceptance Criteria?
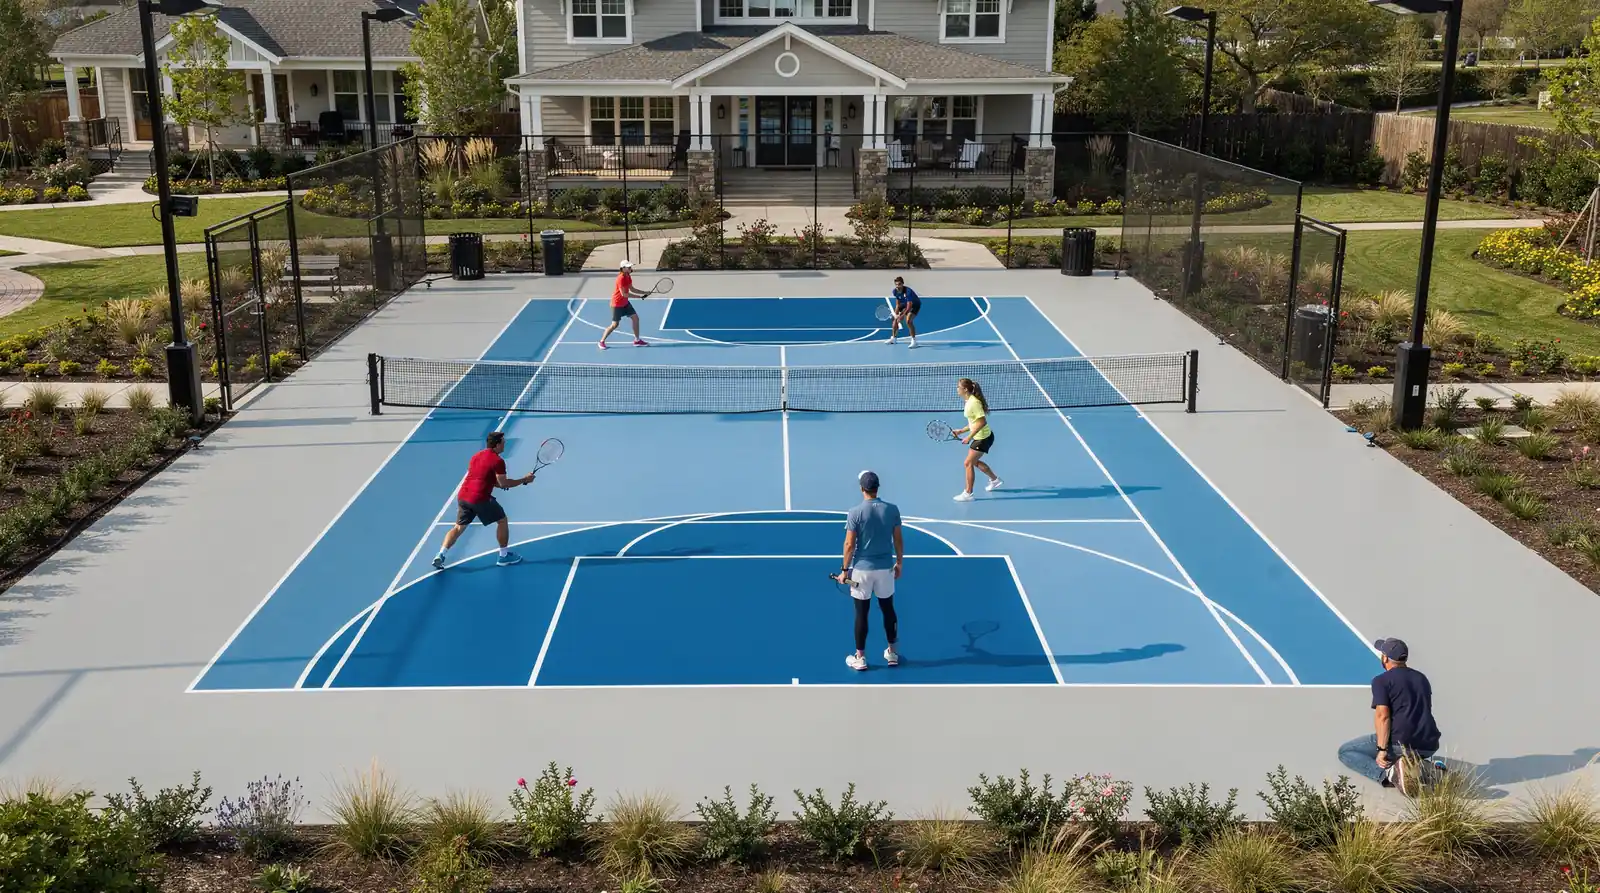
Final sign-off requires a structured acceptance criteria review, not a quick glance at the paint. Confirmation happens through a sequence of checks that verify the surface, safety features, and site details all meet official standards for playability before anyone calls the project finished.
-
Inspect the playing surface. Confirm the resurfacing shows a smooth, even finish that improves gameplay and extends the court’s usable life.
-
Compliance test. Verify the completed court meets official standards for playability and safety, matching sport-specific dimensions and line work.
-
Review site protections. Check that pads sit under chair legs and that any permanent benches are properly anchored, preventing drag damage during the walkthrough.
-
Confirm maintenance readiness. Establish a cleaning routine before handoff, since leftover leaves, dirt, and debris invite mold and mildew.
Who Performs The Final Inspection?
Homeowners across Central Utah work directly with the Ivins, UT-based builder for the closing walkthrough. This local installation inspection step gives owners a clear, documented handoff before regular use begins.
A comprehensive quality control checklist transforms custom sports court installation from a construction project into a lasting investment in performance and safety. By systematically verifying each phase—from site preparation through final surface finishing—you ensure your court meets the exacting standards that define superior craftsmanship. When every detail receives proper attention, the result is a durable, reliable playing surface that serves athletes and families for years to come, delivering the exceptional quality that distinguishes a truly professional installation.
Essential Steps for Long-Lasting Sports Court Quality
What should you prepare before installation begins?
Confirm a finalized site plan showing slope and drainage, agreed-upon court dimensions, weather-resistant surfacing materials, and a clear understanding of the quality control checklist and acceptance criteria.
How long does a custom court project take?
Central Utah property owners should plan for roughly four to six weeks between the initial design meeting and a finished, playable court, with timelines shifting based on size, drainage, and materials.
What does the installation inspection process check?
Inspections follow site engineering standards through five verification points, starting with excavation and grading review to confirm soil compaction and slope meet drainage requirements before concrete work begins.
Facts
-
Supreme Custom Courts is located in Mapleton, UT.